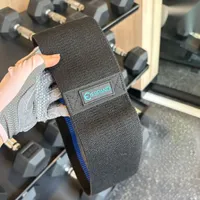
Best Resistance Bands 2027: How to Choose One, What Resistance to Pick, and 7 Moves With a Weekly Plan
In short: how to choose a resistance band depends on what you want to train. For glutes, legs, squats and side steps, pick a loop band (also called a hip or booty band). For arms, back and pulling moves, pick a long flat band or a tube band with handles.
If you're not sure how strong to go, a set with three resistance levels is the easiest start: use the light one to warm up and learn the moves, and move to the heavier ones as you progress.
| Three kinds of band | What it looks like | Best for | Who it suits |
|---|---|---|---|
| Loop band | A closed loop worn around the thighs or knees | Glutes, legs, squats, side steps, glute bridges | People training the lower body at home |
| Long flat band | One long strip, open at both ends | Arms, back, stretching | People training the upper body or stretching |
| Tube band with handles | A tube with a handle at each end | Rows, chest presses, shoulder presses | People who want gym-style moves at home |
The items below are general goods, not medical devices. If you have ongoing pain, numbness or an injury, please see a doctor.
Do resistance bands work? Is it strength training?
A resistance band trains your muscles with resistance that gets stronger the further you stretch it. Like a dumbbell, it is a form of strength training; only the source of the resistance is different. For training at home it has a few advantages:
- Small and portable: rolled up it is smaller than a phone, so it fits in a bag for work trips or travel
- Adjustable: switch to a tighter band, or stretch it further, and the resistance goes up
- Beginner friendly: nothing to drop, so it's a good way to learn the moves at home
- Works alongside other training: use it to warm up at the gym, or add it to squats and bridges to make them harder
To get the most out of it, the key is choosing the right type and resistance. Let's start with the type.
Tip 1: Know the three kinds of resistance band
1. Loop bands: best for glutes and legs
A loop band is a closed circle worn around the thighs, just above the knees, or around the ankles. When you squat, side-step or do a glute bridge, pushing your legs outwards against the band creates the resistance.
- Pros: no need to anchor it to a door or post; small enough to carry in a bag
- Cons: too short for most upper-body pulling moves
- What to look for: for glute and leg work, choose a fabric band (see the material comparison below), which is less likely to roll up or slide down your thighs
2. Long flat bands: upper body and stretching
A long strip you can loop around your feet, a door handle or a post for curls, rows and stretches.
- Pros: long enough for lots of moves, upper and lower body
- Cons: usually thin latex, which can slip in your hands and roll up
- What to look for: length (120 cm or more is easier to use) and a textured, non-slip surface
3. Tube bands with handles: closest to gym machines
A round elastic tube with a handle at each end; some come with a door anchor.
- Pros: the handles are easy to grip, so rows, chest presses and shoulder presses all work
- Cons: bulkier, with more parts
- What to look for: strong joints between handle and tube, and a padded door anchor so it doesn't mark the door frame
Tip 2: How to choose the resistance
Bands are labelled by pounds (lbs) or kilograms (kg), or by colour or S/M/L/XL. The bigger the number, the harder it is to stretch.
| Your situation | Suggested resistance | Why |
|---|---|---|
| First time using a band | Start with the lightest | Getting the move right matters more than pulling hard |
| Big-muscle moves like squats and bridges | Medium to heavy | Legs and glutes are stronger than arms; too light and you won't feel it |
| Small moves like side leg raises and clamshells | Light to medium | Small range of motion; too heavy and your form slips |
| You've trained for a while and it feels easy | Move up one level | If 15–20 reps feel easy, it's time to progress |
A simple test: do 12–15 reps. If the last 2–3 feel hard but your form still holds, that resistance is right for you.
How to read loop band sizes
As well as resistance, loop bands come in different lengths (circumference). A shorter loop feels tighter and gives more resistance; a longer loop is easier to put on and suits larger thighs.
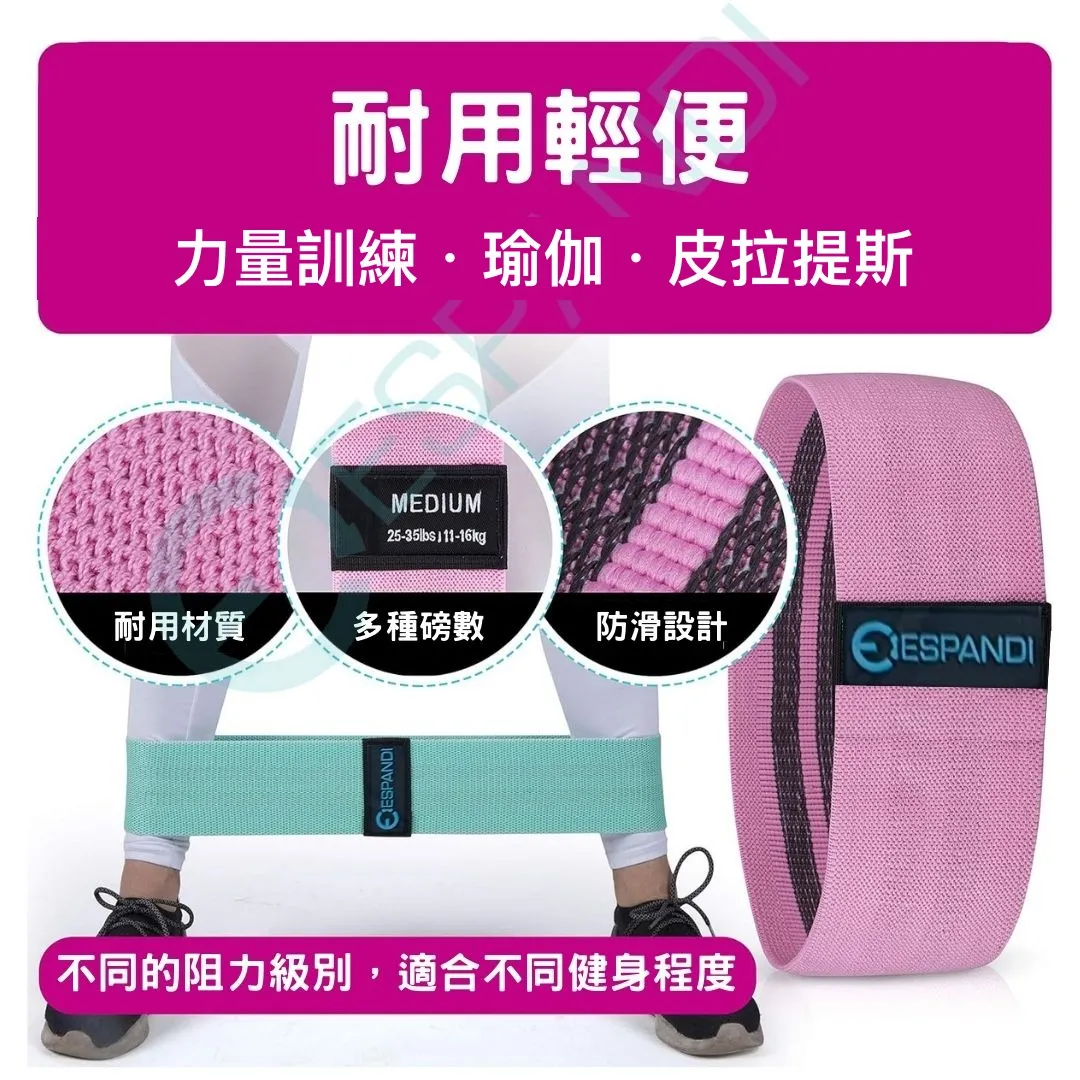
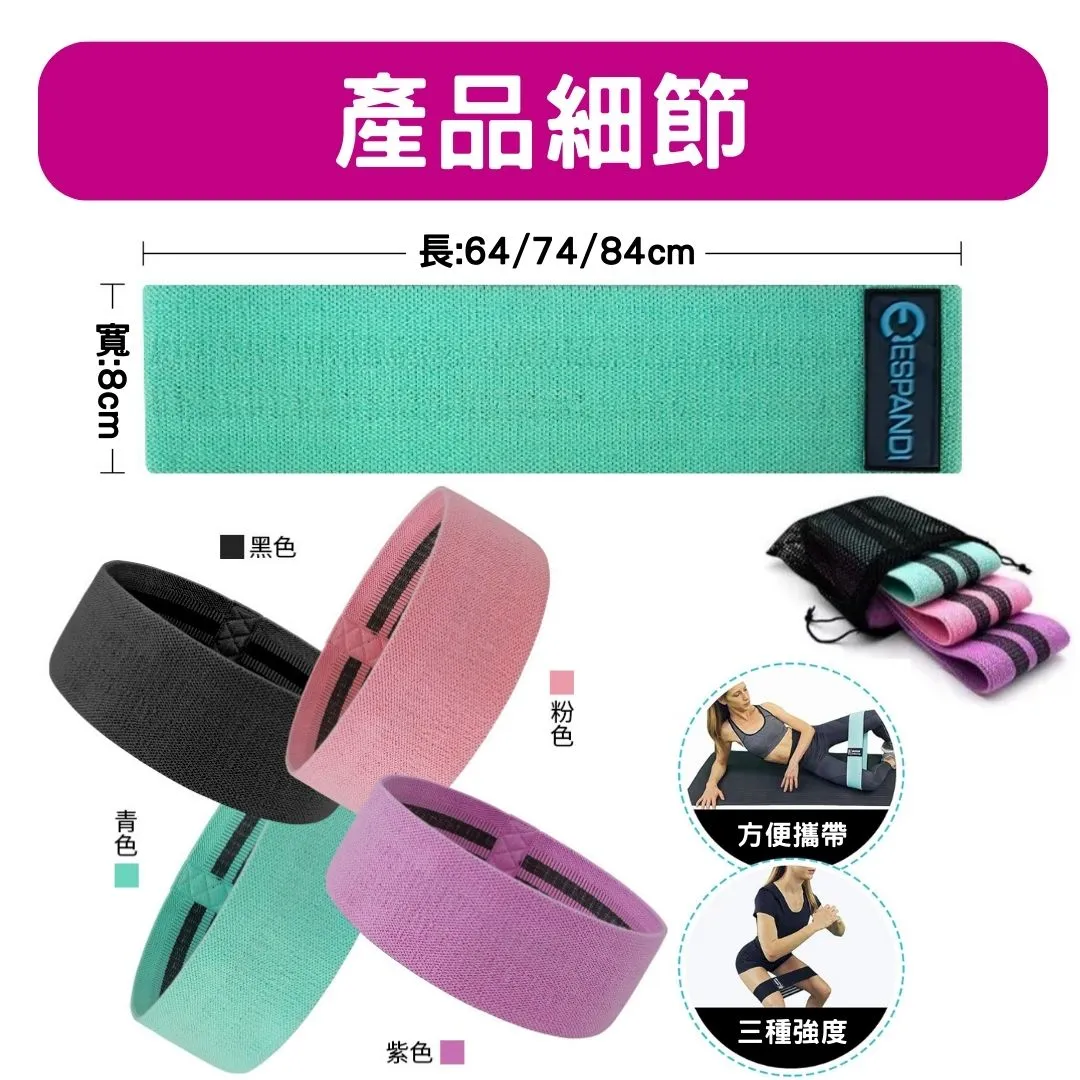
The Espandi Resistance Band Set of 3 is a set of fabric loop bands in three resistance levels: M (64 cm), L (74 cm) and XL (84 cm), with a carry bag. Each band is also sold on its own.
Tip 3: Fabric or latex? Comparing materials
| Material | Pros | Cons | Best for |
|---|---|---|---|
| Fabric (woven, with non-slip lining) | Doesn't roll up or pull leg hair; stays put on the thighs | Less stretch, not suited to long pulls | Loop bands, glute and leg training |
| Latex | Very stretchy, can be pulled a long way, inexpensive | Rolls up and pulls hair; not for people with latex allergies | Long flat bands, tube bands |
Searches for "resistance band downsides" mostly come back to the same complaints: rolling up, slipping and snapping. Switching to a fabric loop band for glute and leg work solves the first two; with latex bands, check regularly for small tears and replace the band as soon as you see one.
Resistance band workout: 7 lower-body moves at home
All of these use a loop band. Beginners can do 12–15 reps × 2–3 sets of each, resting 30–60 seconds between sets.
1. Banded squat
- Band just above the knees, feet shoulder-width apart
- Sit your hips back as if onto a chair, knees tracking over your toes and pressing gently out against the band
- Squeeze your glutes as you stand up
2. Side step (monster walk)
- Band above the knees or around the ankles, in a slight squat
- Take 10 steps to the right, then 10 to the left, keeping tension on the band throughout
3. Glute bridge
- Lie down with knees bent, band just above the knees
- Lift your hips until shoulders, hips and knees form a straight line, pressing your knees out against the band
- Hold for 1–2 seconds at the top, then lower
4. Clamshell
- Lie on your side with knees bent, band just above the knees
- Keep your heels together and lift the top knee, then slowly lower it
- Keep your pelvis still; don't roll backwards
5. Standing side leg raise
- Band around the ankles, one hand on a chair back
- Lift one leg out to the side about 30–45 degrees, slowly lower, then switch sides
6. Standing kickback
- Band around the ankles, one hand on a chair back
- Kick one leg back using your glutes, keeping your upper body upright, then switch sides
7. Lunge
- Band just above the knees, take a big step forward
- Lower your back knee, keeping your front knee pointing over your toes rather than caving in
Bonus: an upper-body move with a loop band
Wrist pull-apart
- Band around both wrists, arms straight out in front at shoulder height
- Slowly press your hands apart until you feel the backs of your shoulders working, then return
For more rows and back work, add a long flat band or a tube band.
A weekly resistance band plan
| Day | Moves | Time |
|---|---|---|
| Mon | Squat, glute bridge, clamshell | About 15 min |
| Wed | Side step, side leg raise, kickback | About 15 min |
| Fri | Squat, lunge, glute bridge | About 15 min |
| Other days | Rest, a walk or stretching | — |
Two or three sessions a week is plenty at first. Once your body is used to it, add sets or move up to the next resistance level.
Want to train your core and stretch too?
Resistance bands are mainly for glute, leg and overall strength. To add core work and stretching, pair them with Pilates equipment: a Pilates ring, Pilates ball and stretch strap all work at home.
Get the full set: Espandi Pilates 5-in-1 Kit (Pilates ring, 25 cm Pilates ball, yoga ring, stretch strap, resistance band)
For glutes and legs: Espandi Resistance Band Set of 3
For a snugger feel around the knee in squats and lunges: Espandi Elastic Knit Knee Sleeve (high-stretch knit, inner anti-slip strips, sold as a pair)
Products mentioned in this article
The items below are general goods, not medical devices. If you have ongoing pain, numbness or an injury, please see a doctor.
- 30-day trial, returns accepted
- Ships from Taiwan in 1–3 days
- Sizing help on LINE
FAQ: resistance bands
Q1: How many bands should a beginner buy?
A1: Our recommendation for beginners is a set with three resistance levels. Use the light band for warming up and learning moves, the medium one for most exercises, and save the heavy one for when you progress, so you don't have to keep buying more.
Q2: How do I choose the resistance?
A2: Do 12–15 reps. If the last 2–3 feel hard but your form holds, that's the right level. Use medium to heavy for big glute and leg moves, light to medium for small moves like side leg raises and clamshells.
Q3: Can I train my back with a loop band?
A3: A few moves, but it's limited. For rows and back work, use a long flat band or a tube band with handles, which are long enough for a full pulling movement.
Q4: Do resistance bands snap? How often should I replace one?
A4: Latex bands age with use; replace them when you see tears or they turn sticky. Fabric bands last longer, but replace them too if they lose a lot of stretch or the stitching comes loose. A quick check before each use is a good habit.
Q5: How do I clean a resistance band?
A5: Hand-wash fabric bands in warm water with a mild detergent and air-dry them out of direct sun and heat. Wipe latex bands with a damp cloth; don't soak them or leave them in the sun.
Q6: Can I use resistance bands every day?
A6: Train the same muscle group every other day so it has time to rest. You could do glutes and legs one day and stretching or a walk the next.
Q7: Does resistance band training count as strength training?
A7: Yes. Like dumbbells and barbells, it works your muscles against resistance. The difference is that a band's resistance rises as it stretches, which makes it handy at home, and it works alongside gym equipment too.
Q8: Can older adults use resistance bands?
A8: Yes. Start with the lightest band, move slowly, and keep a chair nearby to hold on to. Standing side leg raises and seated moves are a good start. If you are seeing a doctor or have any exercise restrictions, check with your doctor or physiotherapist first.
General exercise advice only. If you are seeing a doctor, have just been injured, or feel ongoing pain or numbness when exercising, stop and ask a doctor or physiotherapist.
Keep reading
Pilates for Beginners | Core Training at Home to Tone Up
Can Pilates really help you tone up? This article explains the core principles of Pilates, beginner-friendly moves, and how to use a Pilates ring and resistance band to practise core...

Feet Can't Reach the Floor on Long Flights? How to Choose an Airplane Footrest
Economy seats leave many shorter travellers with their feet dangling. Here is how the three kinds of airplane footrest compare, what airlines allow, and when to stow them.

Want to Sit Comfortably Through a 10-Hour Flight? A Guide to Choosing a Travel Lumbar Pillow
Long flights can be tiring to sit through. This article looks at the Espandi press-to-inflate lumbar and neck pillow, designed with 10-hour journeys in mind. Its curved shape fills the...